ViewPLUS SCADA OPC UA Server Service Application Notes
Install OPC UA Server Service
Download the latest version of ViewPLUS SCADA from the MIKRODEV website and install it. ViewPLUS SCADA Link.
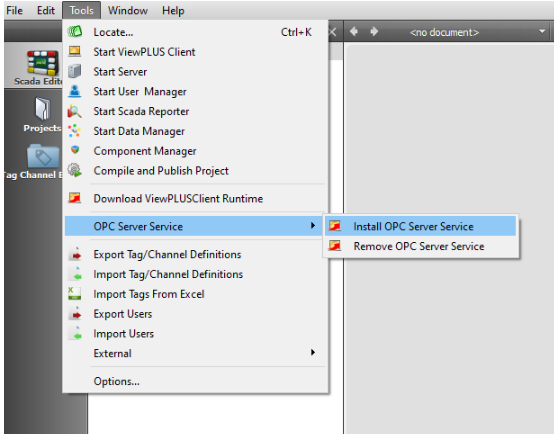
Under the ViewPLUS SCADA tools tab, the installation process is performed with the “Install OPC Server Service” option.
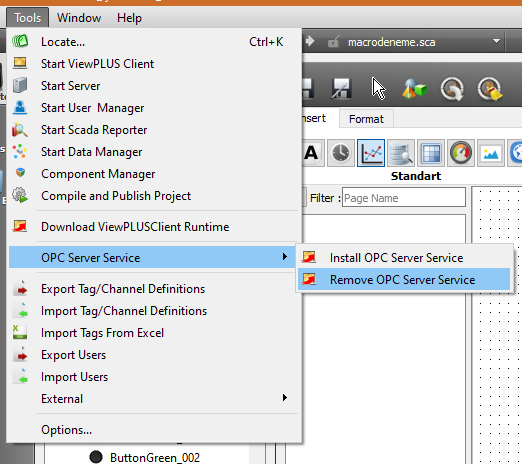
The service can be removed with "Remove OPC Server Service".
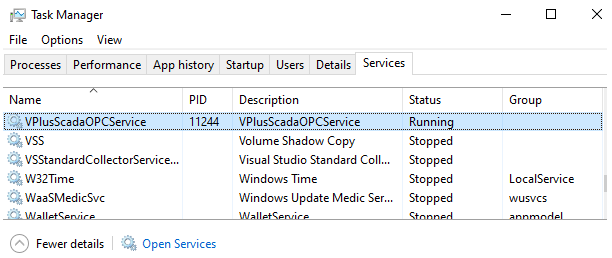
In the task manager Services, it is checked that the “VPlusScadaOPCService” service is running.
Create Certificates Using Shell Script
On a linux system with openssl libraries installed, edit the attached createcerts.sh script file as needed and run it. All necessary certificates will be created in the corresponding folders.
Create Certificates Manually
Make sure openssl is installed. The first step is to create a Certificate Authority (CA). The CA will take the role of a system integrator comissio- ned with installing OPC Servers in a plant. The CA will have to:
Create its own public and private key pair. Create its own self-signed certificate. Create its own Certificate Revocation List (CRL).
Keys can be created and transformed into various formats. Ultimately, most OPC UA applications make use of the DER format.
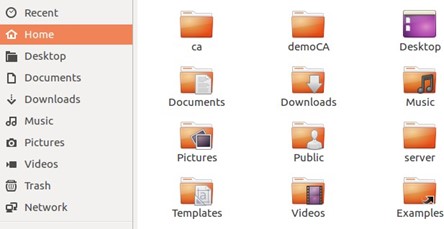
Create directory to store CA's files mkdir ca
![]()
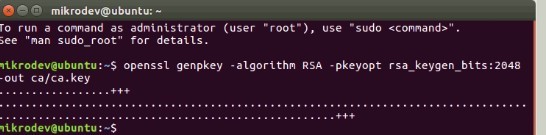
Create CA key:
openssl genpkey -algorithm RSA -pkeyopt rsa_keygen_bits:2048 -out ca/ca.key
Create self-signed CA cert:
openssl req -new -x509 -days 3600 -key ca/ca.key -subj "/CN=Mikrodev CA/O=Mikrodev Organization" -out ca/ca.crt
![]()
Convert cert to der format:
openssl x509 -in ca/ca.crt -inform pem -out ca/ca.crt.der -outform der
![]()
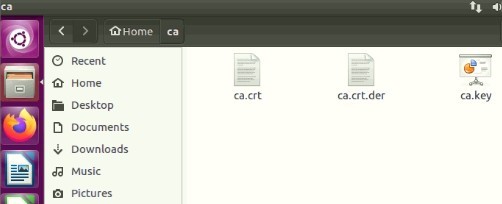
After these 3 commands, files are formed in the ca folder.
Create cert revocation list CRL file:
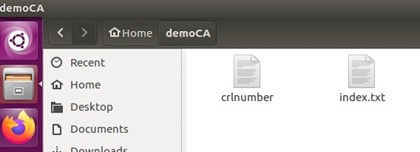
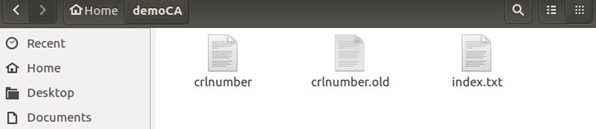
NOTE : might need to create in relative path # - File './demoCA/index.txt' (Empty)
File './demoCA/crlnumber' with contents '1000' openssl ca -crldays 3600 -keyfile ca/ca.key -cert ca/ca.crt -gencrl -out ca/ca.crl


Convert CRL to der format:
openssl crl -in ca/ca.crl -inform pem -out ca/ca.der.crl -outform der
![]()
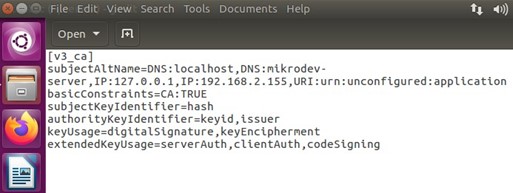
The next steps must be applied for each server the system integrator wants to install. Create its own public and private key pair. Create an exts.txt which contain the certificate extensions required by the OPC UA standard. Create its own unsigned certificate, and with it a certificate sign request. Give the certificate sign request to the CA to sign it. The exts.txt should be as follows: [v3_ca] subjectAltName=DNS:localhost,DNS:mikrodev-server,IP:127.0.0.1,IP:192.168.2.155,URI:urn:unconfigu- red:application basicConstraints=CA:TRUE subjectKeyIdentifier=hash authorityKeyIdentifier=keyid,issuer keyUsage=digitalSignature,keyEncipherment extendedKeyUsage=serverAuth,clientAuth,codeSigning
The subjectAltName must contains all the URLs that will be used to connect to the server. In the example above, clients might connect to the localhost (127.0.0.1) or through the Windows network, using the Windows PC name (mikrodev-server), or through the local network (192.168.2.155).
Create directory to store server's files mkdir server:
![]()
Create server key:
openssl genpkey -algorithm RSA -pkeyopt rsa_keygen_bits:2048 -out server/server.key

Convert server key to der format:
openssl rsa -in server/server.key -inform pem -out server/server.key.der -outform der

Create server cert sign request:
openssl req -new -sha256 -key server/server.key -subj "/C=ES/ST=MAD/O=MyServer/CN=localhost" -out server/server.csr
![]()
The CA must now sign the server's certificate sign request to create the signed certificate, appending also the required certificate extensions (exts.txt).
Sign cert sign request (NOTE: must provide exts.txt) :
openssl x509 -days 3600 -req -in server/server.csr -extensions v3_ca -extfile server/exts.txt -CAcreateserial -CA ca/ca.crt -CAkey ca/ca.key -out server/server.crt

Convert cert to der format:
openssl x509 -in server/server.crt -inform pem -out server/server.crt.der -outform der
![]()
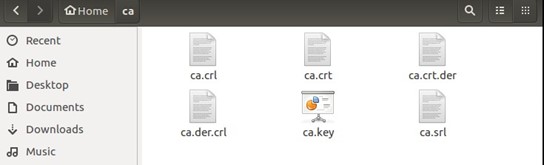
Files created in the «ca folder» after commands:
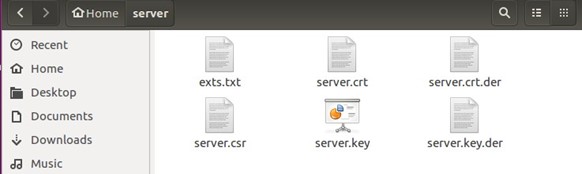
Files created in the «server folder» after commands:
Files created in the «demoCA folder» after commands:
Use Certificates
First the CA's certificate and CRL must be copied to the client's software.
In the case of UA Expert, in the user interface go to Settings -> Manage Certificates Then click the Open Certificate Location, which opens the file explorer to a location similar to:
$SOME_PATH/unifiedautomation/uaexpert/PKI/trusted/certs The CA's certificate must be copied to this path:
cp ca/ca.crt.der $SOME_PATH/unifiedautomation/uaexpert/PKI/trusted/certs/ca.crt.der

Going one directory up, then in crl is where the CRL must be copied to:
cp ca/ca.der.crl $SOME_PATH/unifiedautomation/uaexpert/PKI/trusted/crl/ca.der.crl

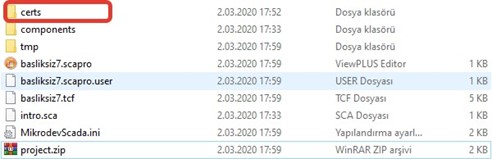
Finally the server certificate and private key must be copied into the ViewPLUS Project folder. Create a folder named "certs" in the project folder and copy the following files:
cp server/server.crt.der $PROJECT_PATH/certs/server.crt.der cp server/server.key.der $PROJECT_PATH/certs/server.key.der

UAEXPERT Installation
Download the UaExpert installation file from below and install it. https://www.unified-automation.com/downloads/opc-ua-clients.html
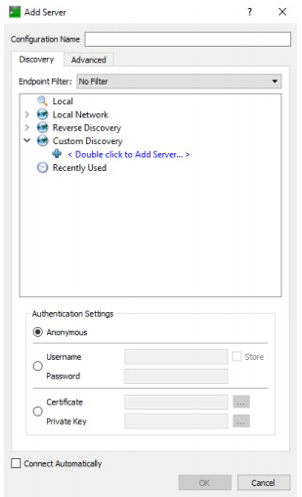
Add Server
To add a new connection to an OPC UA Server, click on the “+” button in the toolbar or choose Server → Add… from the menu. A new dialog window will open. Double-click on < Double click to Add Server >
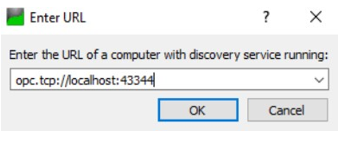
Enter Discovery URL
A new dialog window will open, asking for a Discovery URL. If you have a Discovery Server run- ning, you can enter its URL. But it’s also possible to enter the URL of the UA Server, as each UA Server has to provide a Discovery endpoint. In our example, we enter opc.tcp://localhost:43344, as we want to connect to ViewPLUS SCADA Server running on the same computer
List of Available Endpoints
The URL is added to the list, and when expanding the tree, the server and all endpoints it provides are shown.
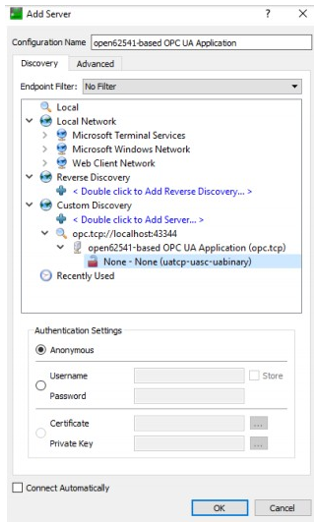
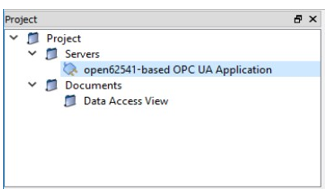
Server not yet Connect
As we want to connect with the highest security level available, we pick the endpoint based OPC UA Application and confirm with OK. The Server is now listed in the Project Window. The unplug- ged connector symbol indicates that the connection is not yet established.
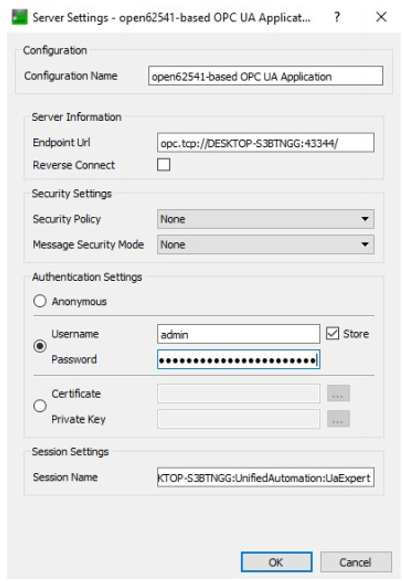
Advanced Options for Adding a New Server
Instead of using the discovery window as described in step-by-step connect example, the Advan- ced tab offers to enter connection information directly. If all relevant connection parameters are known, this dialog window can be used to enter the information and skip the discovery process. Furthermore, it is possible to specify a custom name for the session.
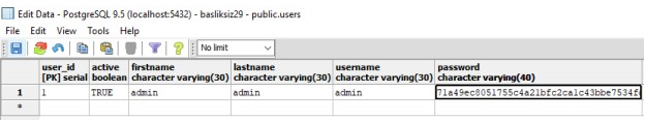
User Password (Format with HASH)
The hash format of the ViewPLUS SCADA user password is obtained from the section where the relevant server information is stored in the database.
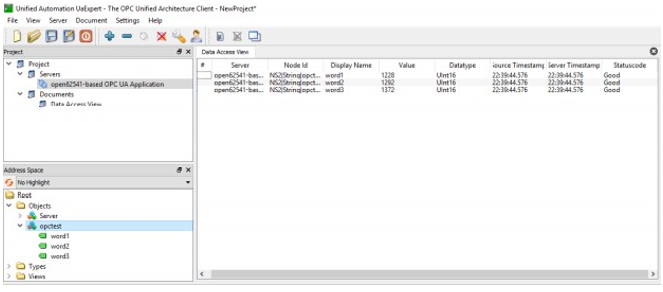
Connected
After entering the user name and hash password, access to ViewPLUS SCADA server is provided. The label data on the server is displayed on the OPC UA screen.